For this week's Family Friday, enjoy an engaging hands-on May Day activity with 2D and 3D shapes. Learn more about the holiday by reading Holidays Around the World and extend your fun by creating May Day baskets filled with spheres, cones, cylinders, circles, triangles, and more. Best of all, after completing your May Day basket you can deliver it to a friend in the traditional May Day fashion! Read the step-by-step May Day basket craft guide below.

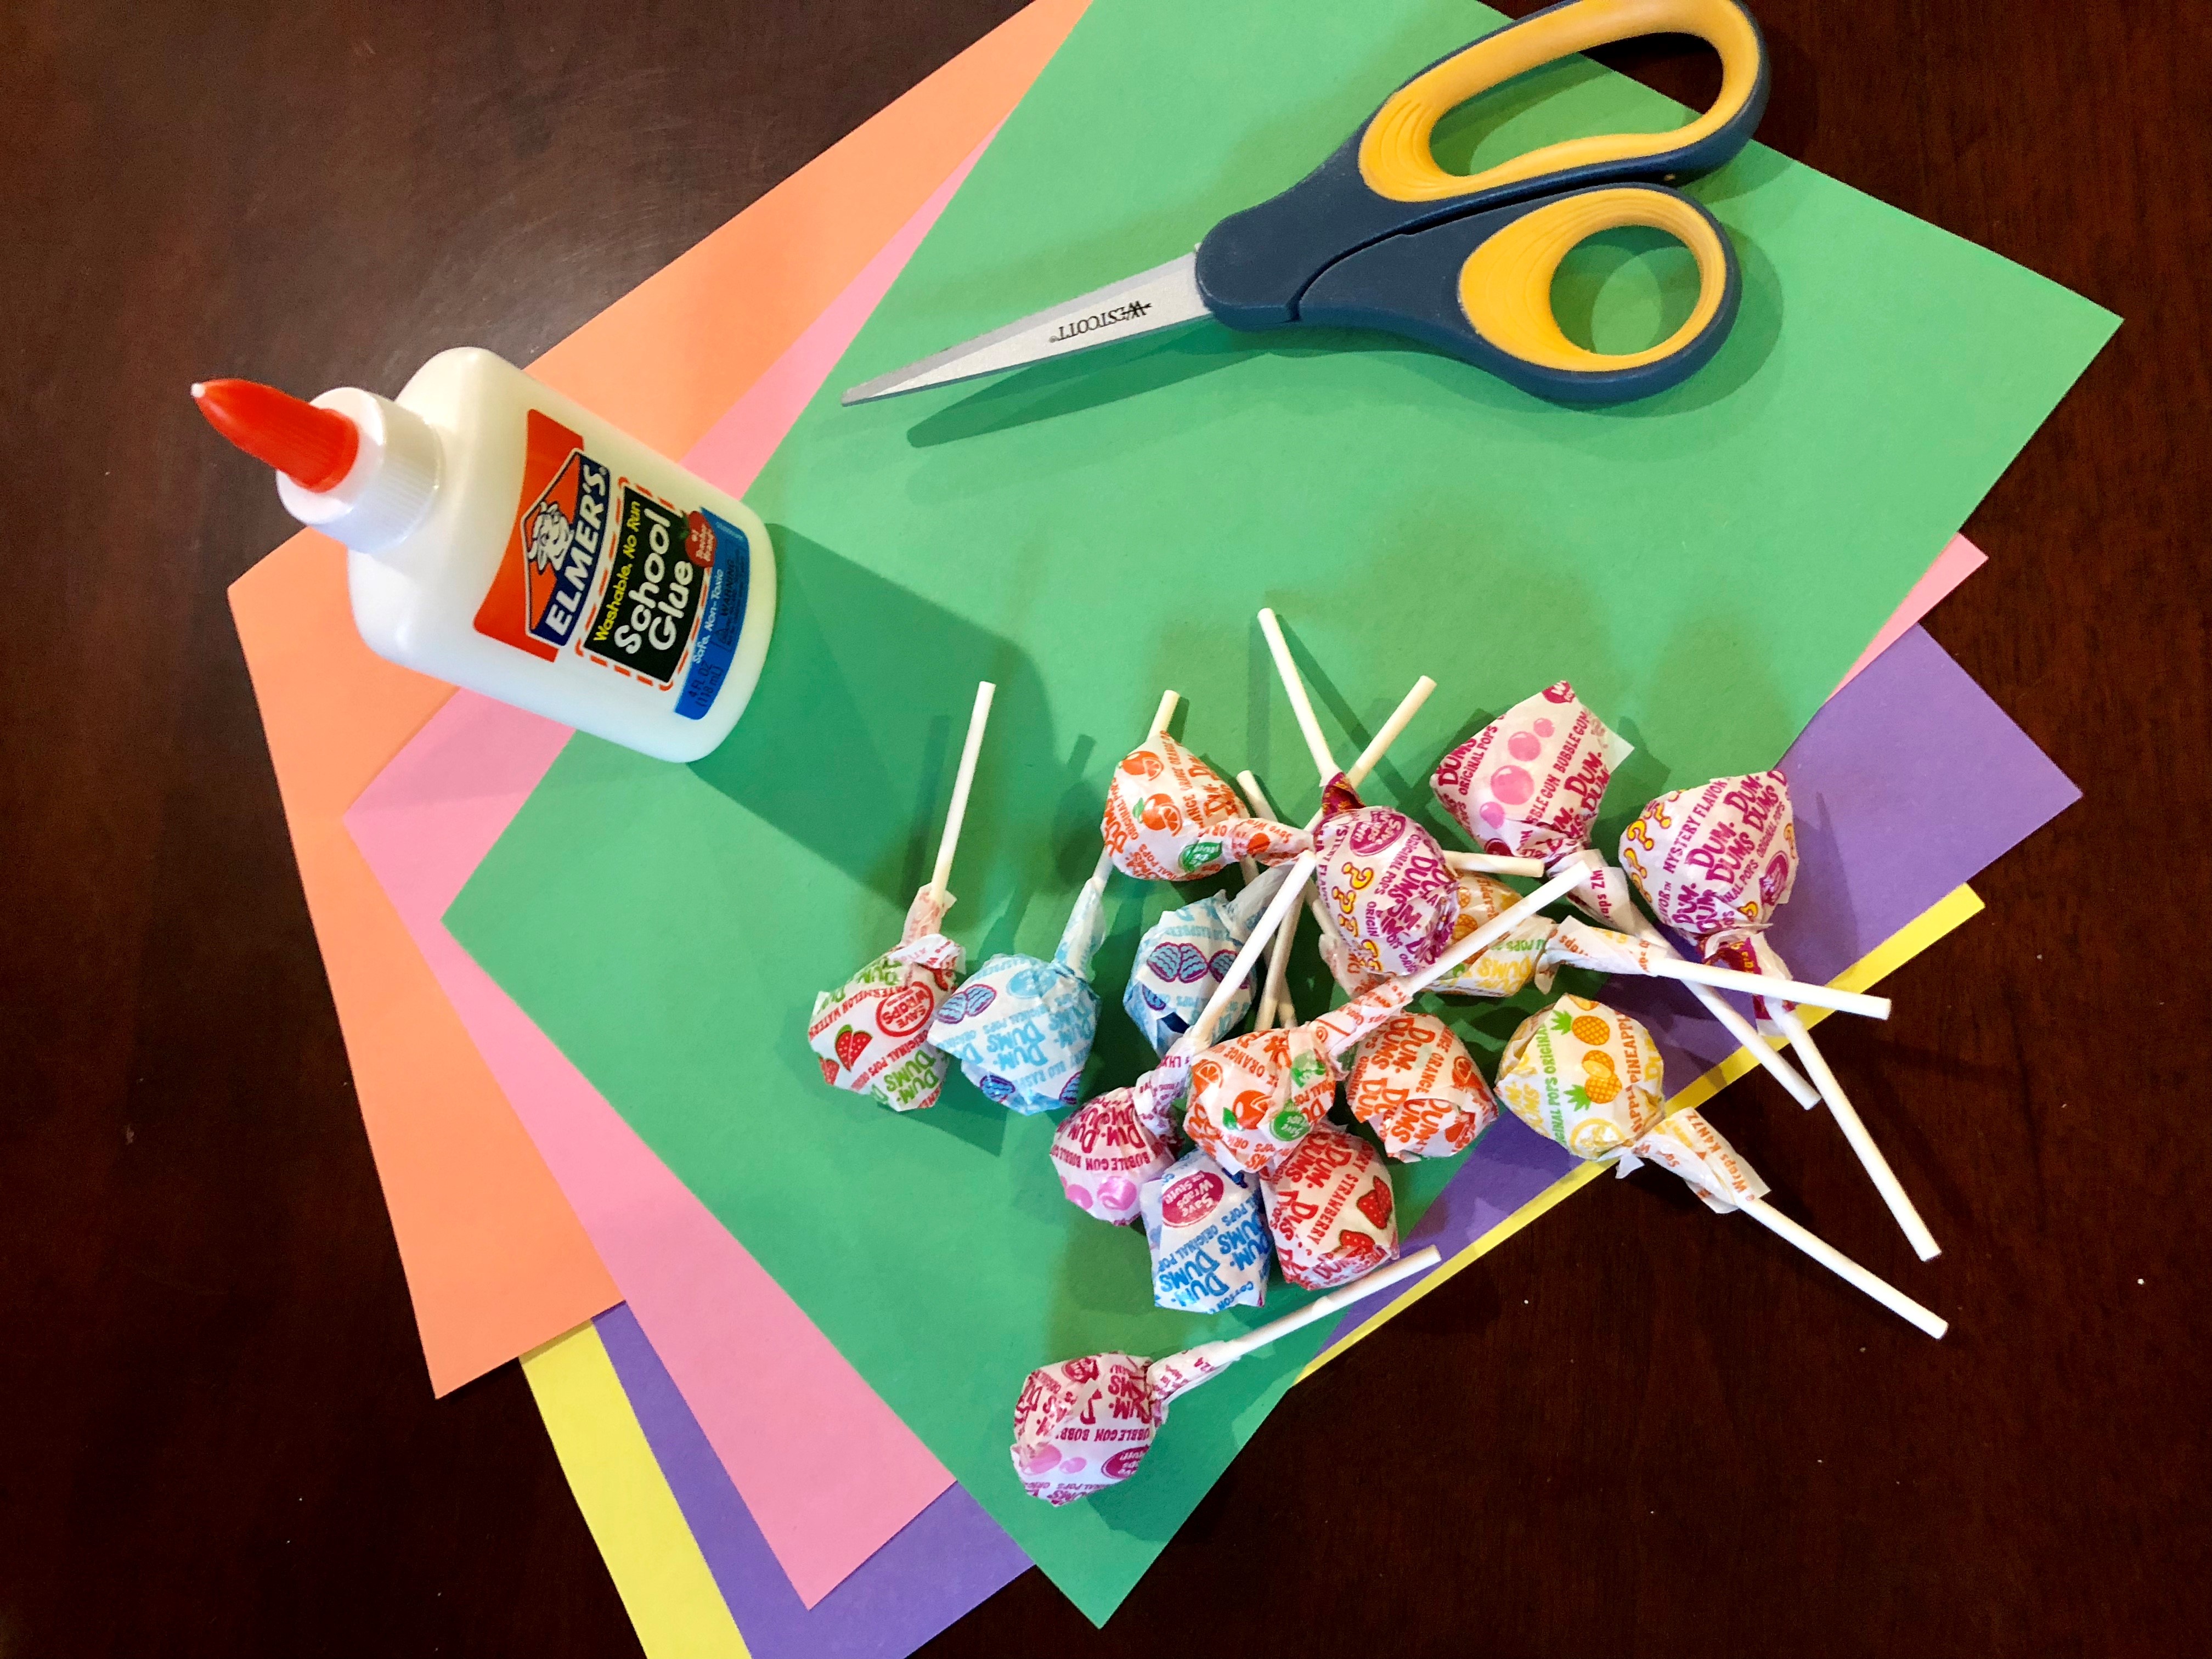
What you need:
- 4 sheets of colored construction paper
- 4 lollipops (any brand)
- Scissors
- Glue
Step 1
Click to read Holidays Around the World (K-O). Read the book with your child, especially letter M for May Day. Be sure to use the spinner on the page to see the pictures come alive! You can also find this book by opening up your Footsteps2Brilliance App and going to Level 2 (Yellow). In Holidays Around the World, you'll see the book Holidays Around the World (K-O).

Step 2
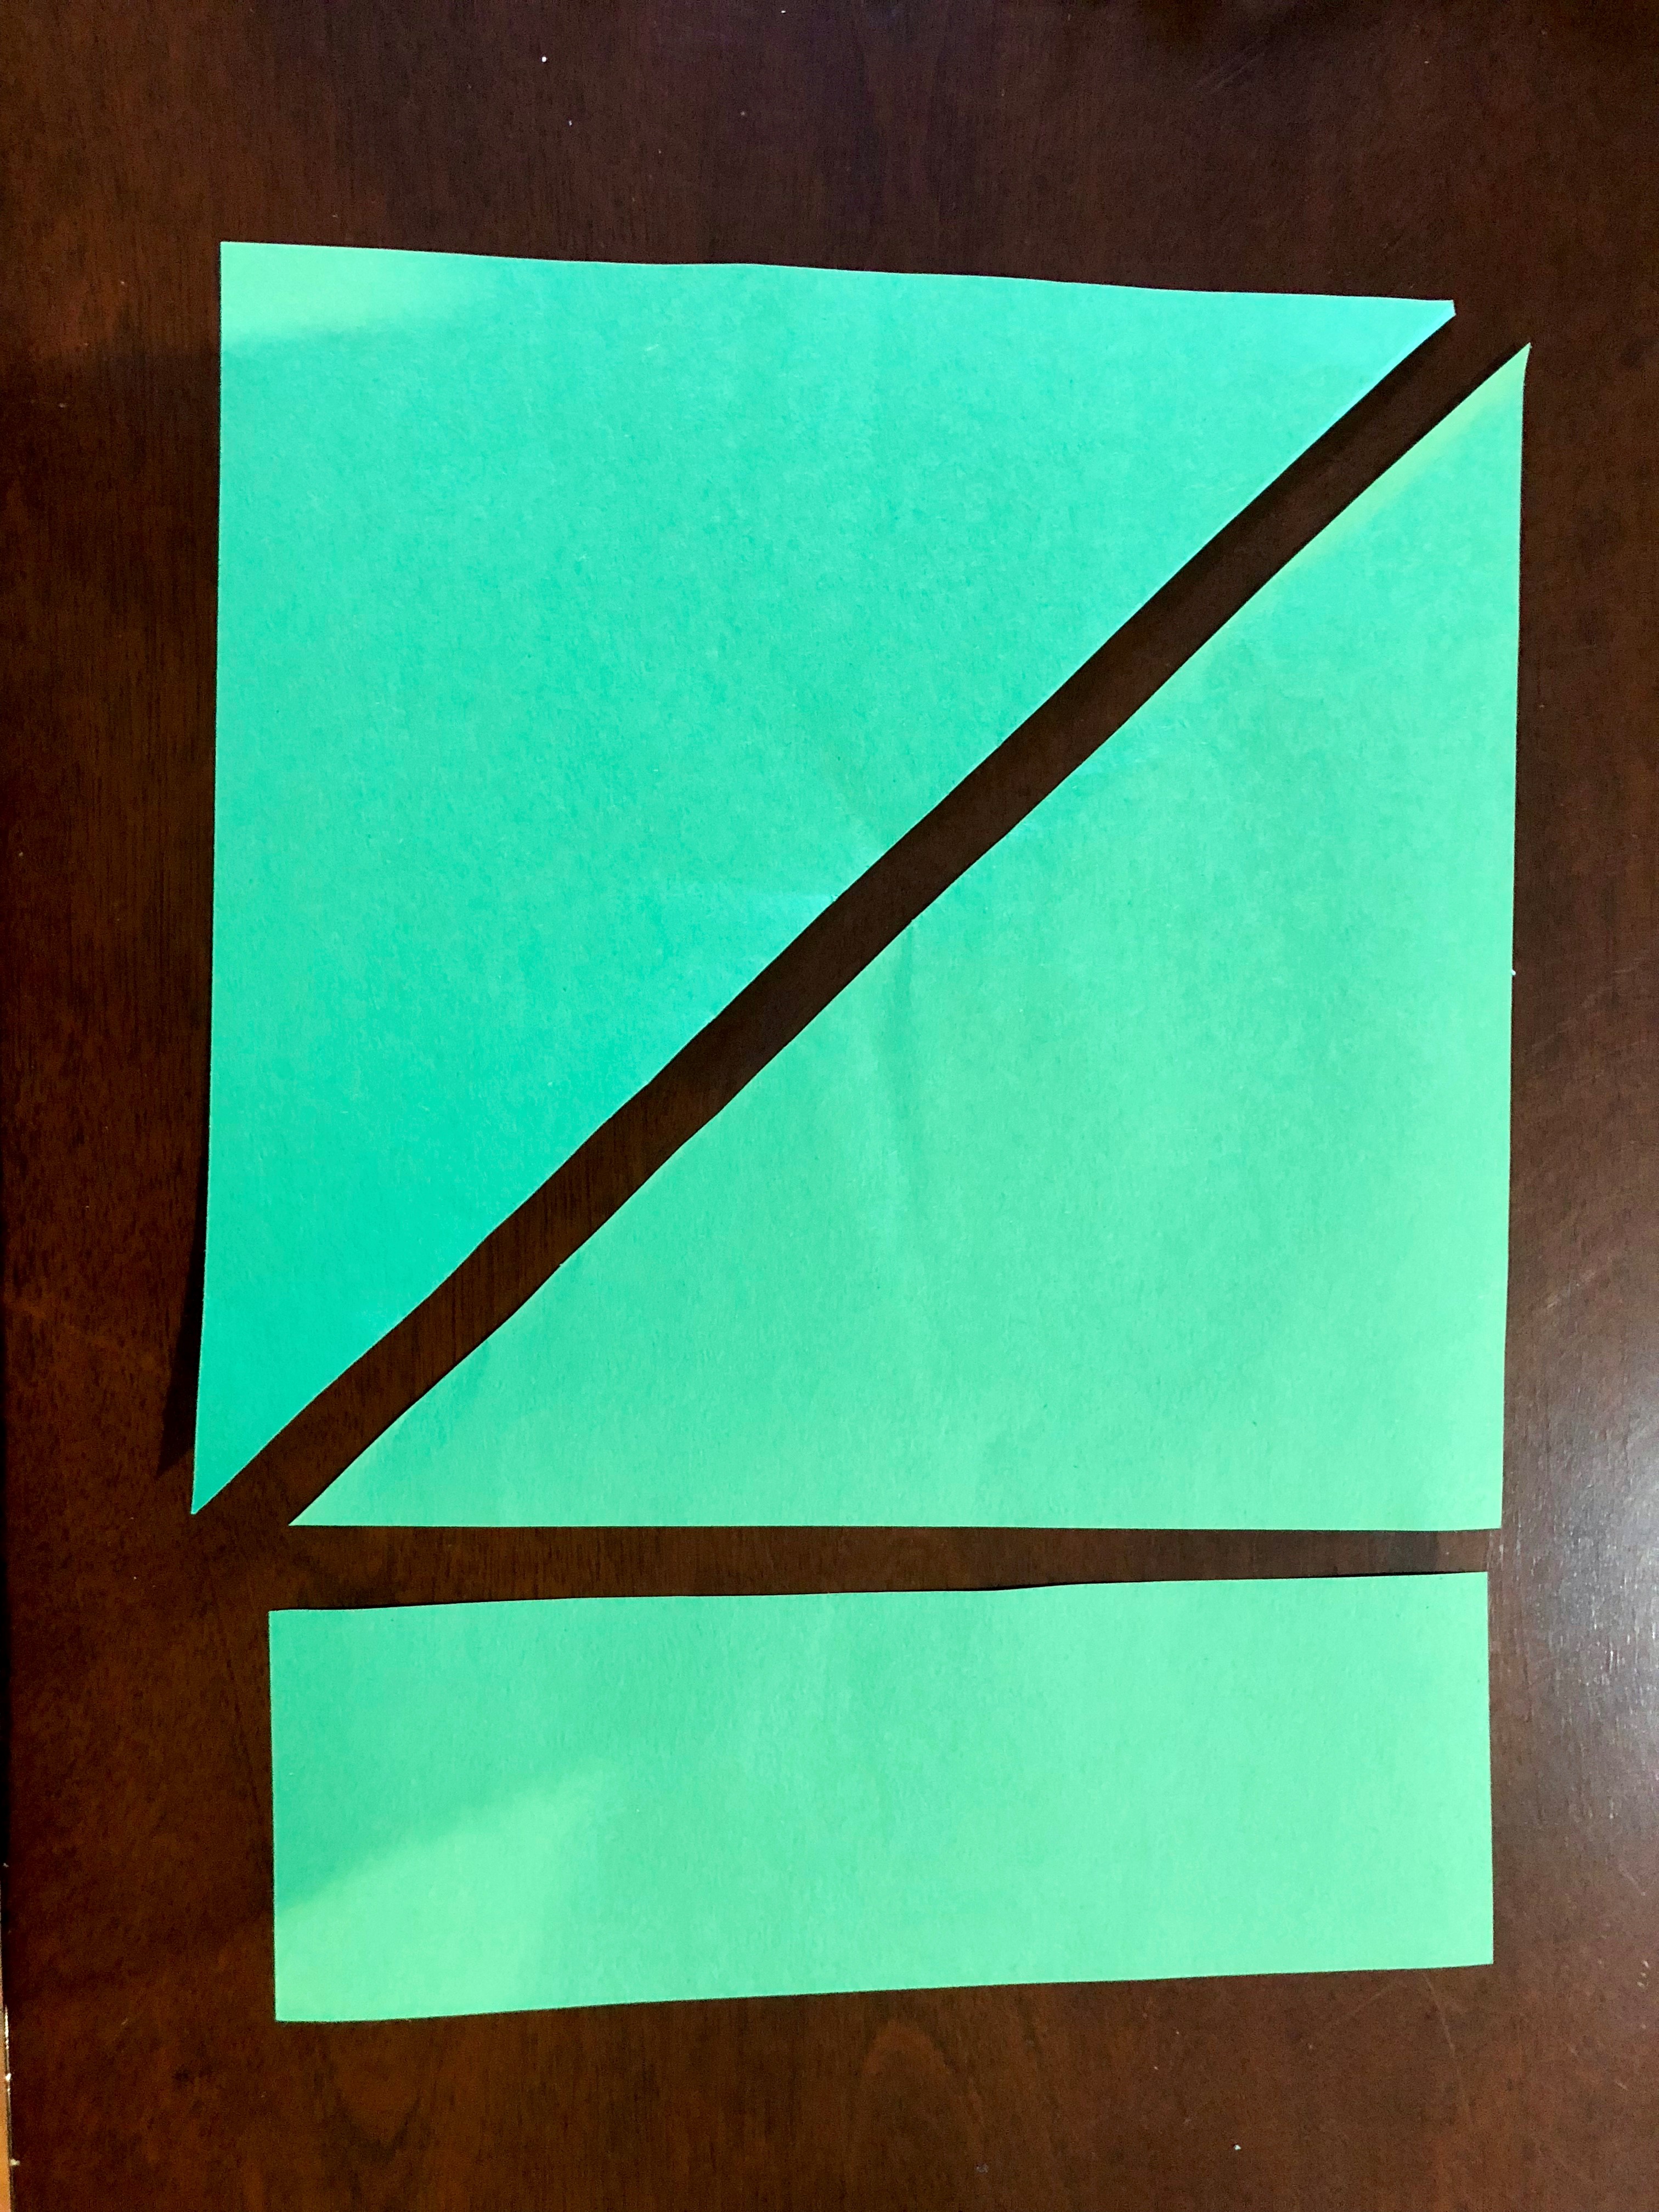
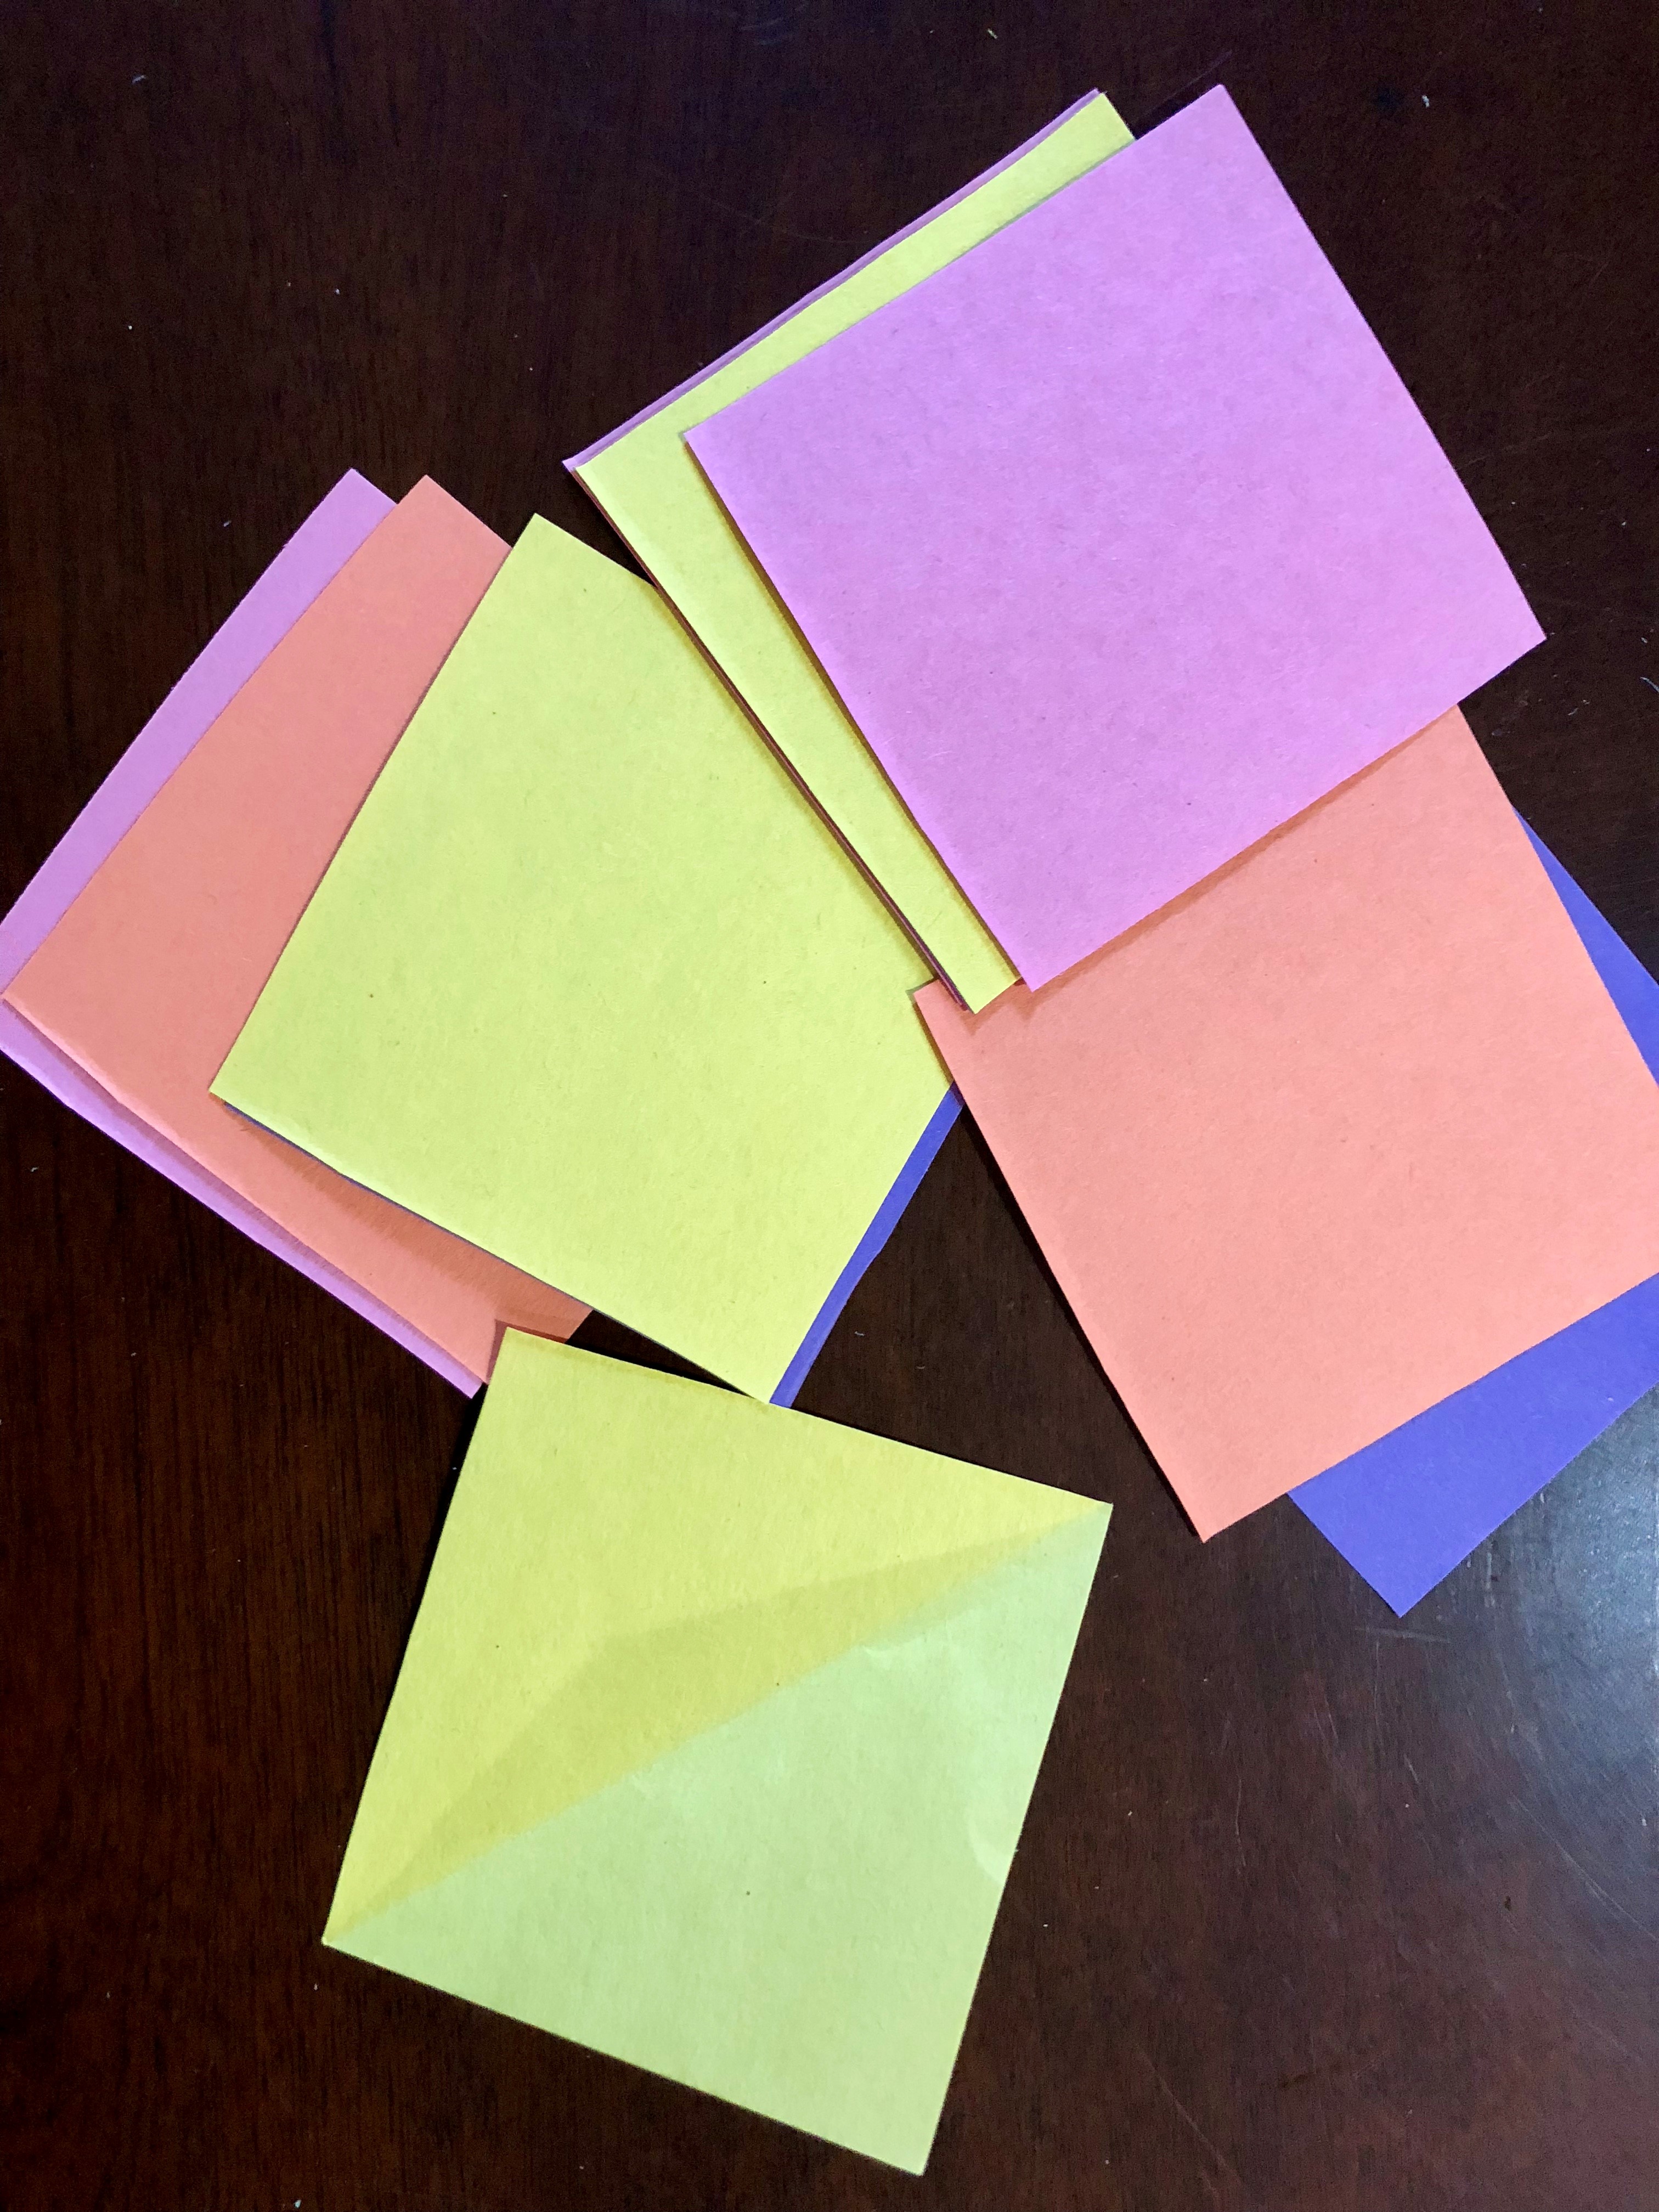
Chose one piece of paper to be your basket. Grab one corner of the paper and fold it over to align with the other half of the paper. Cut off the bottom edge of the paper and cut on the fold.
You should have three 2D shapes. Can your child name each of these shapes? (2 triangles and 1 rectangle)
Don't throw away any of these shapes because you will need them to create your basket.
Step 3
To make the basket, your child will explore how a 2D shape can become a 3D shape.
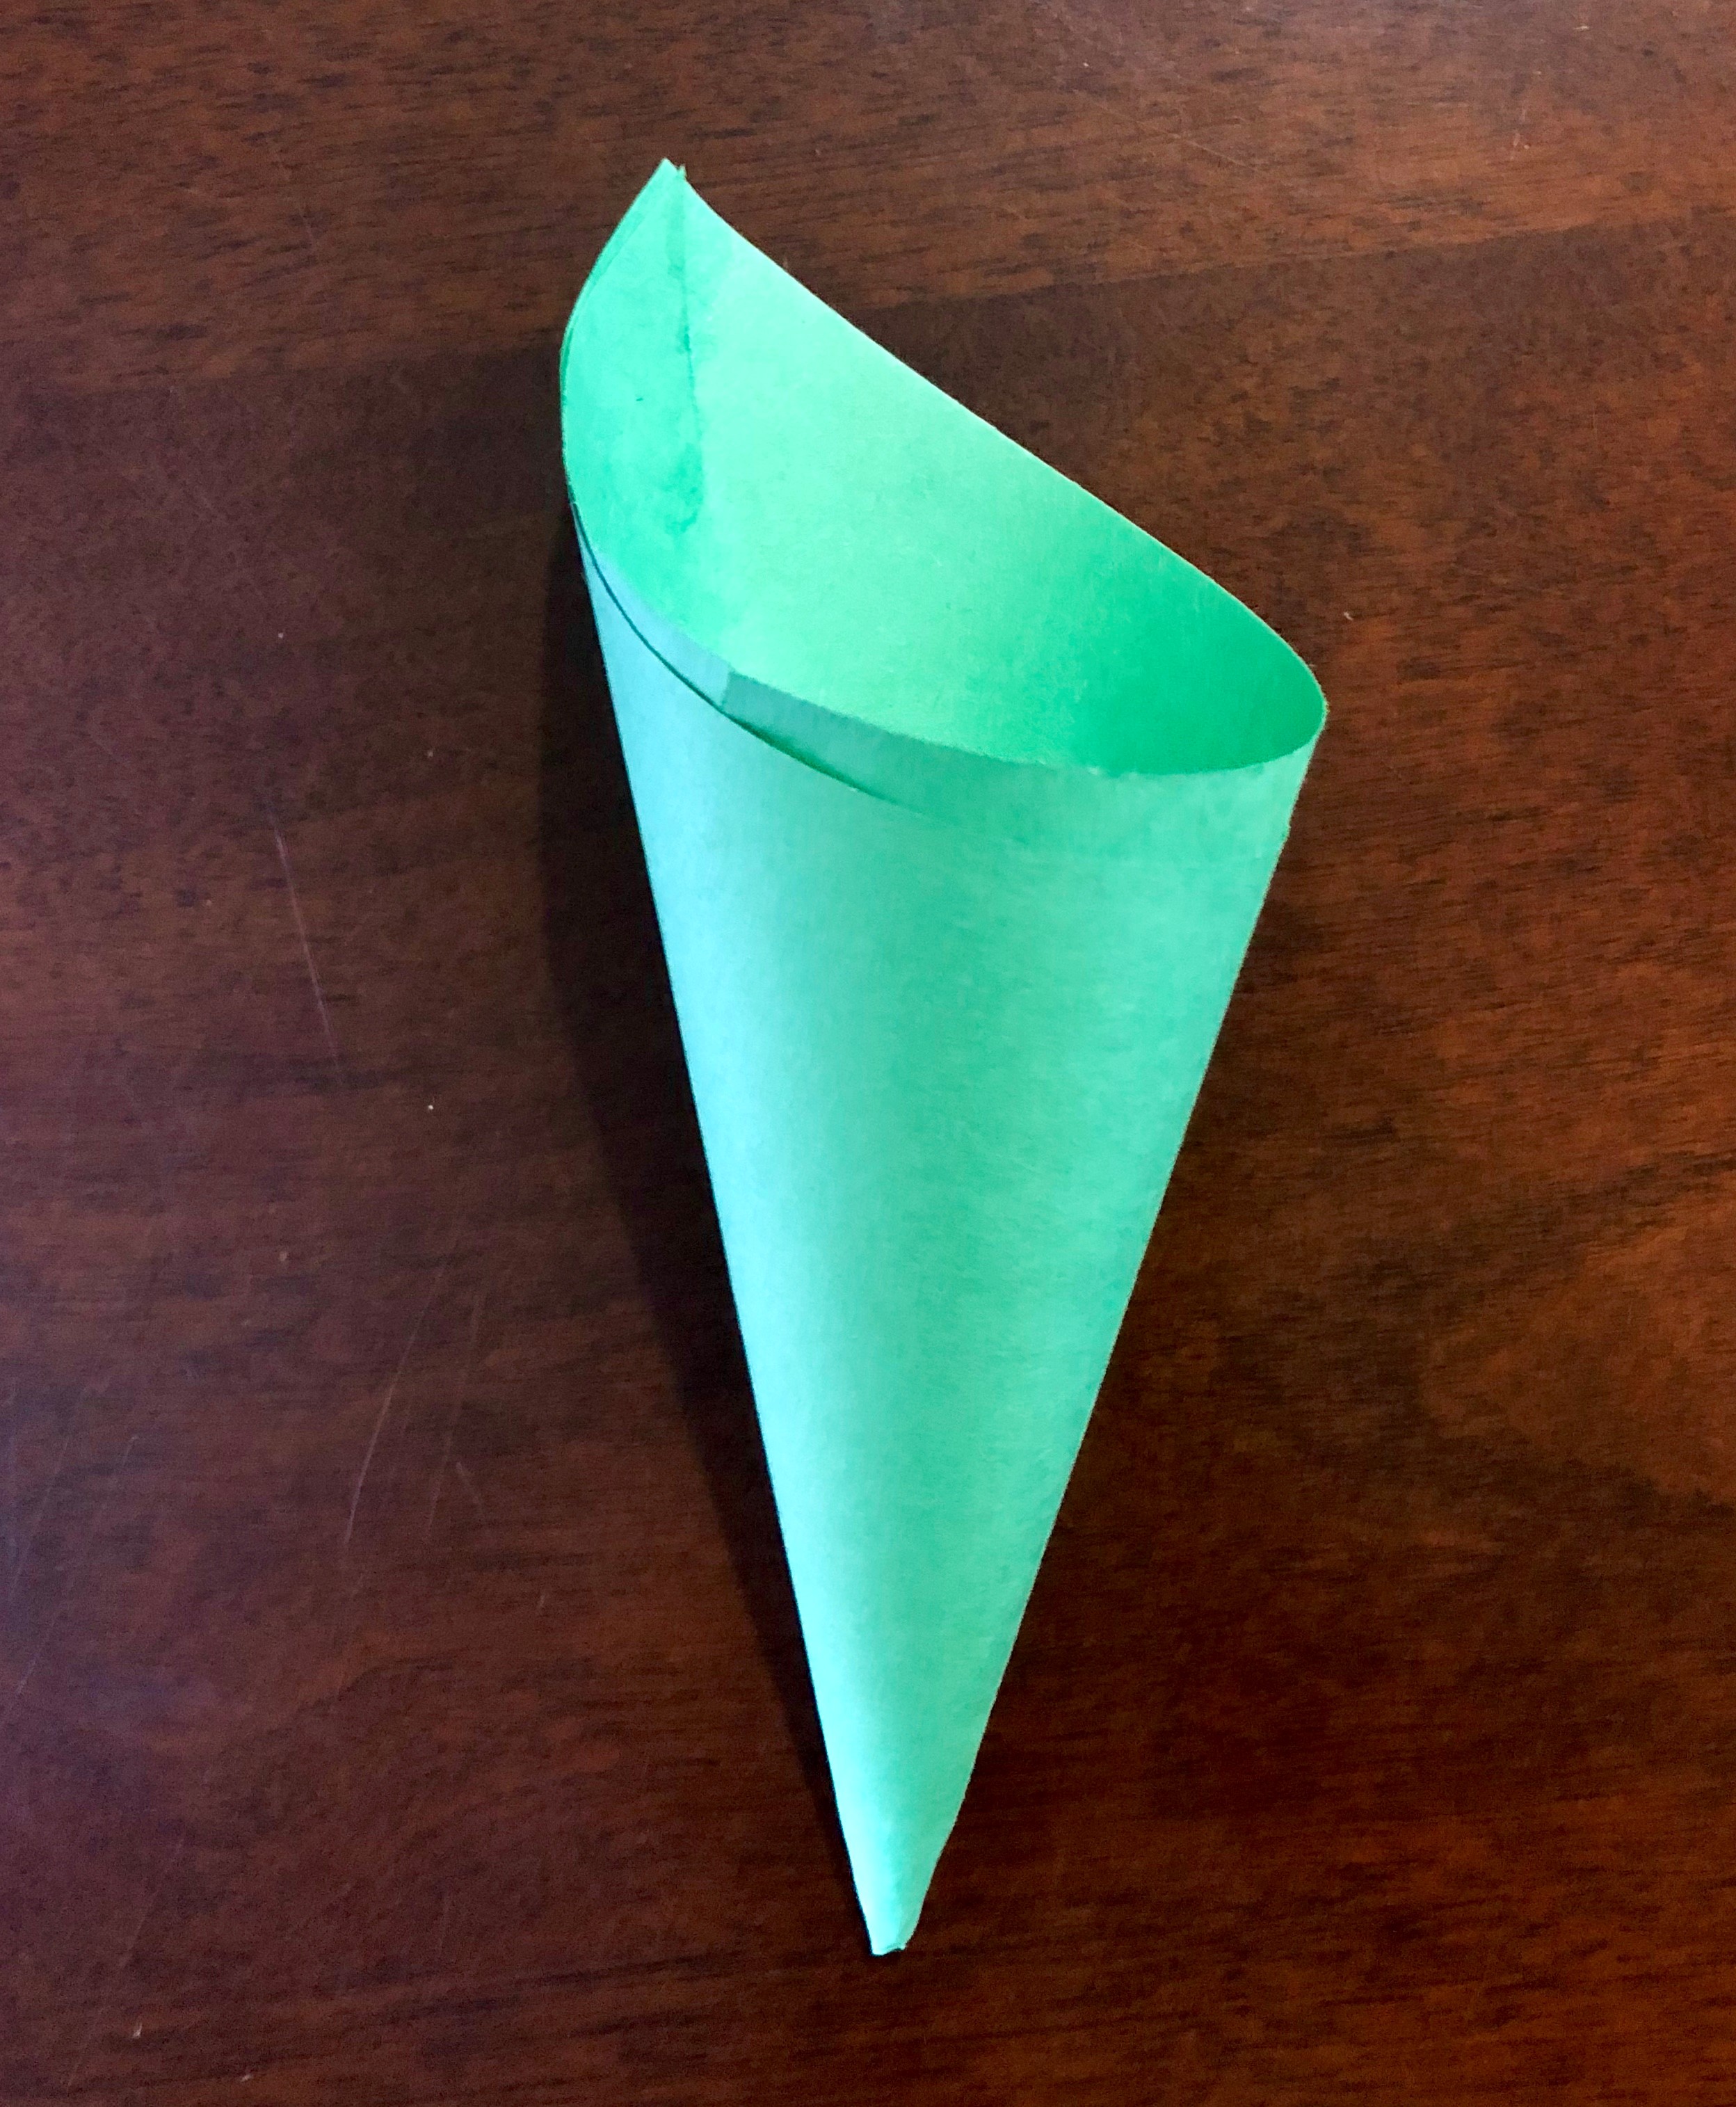
Using one of your triangles you will create a 3D shape called a cone. Begin by wrapping one corner of your triangle to align with the center point (see image). Add glue to the corner and hold down until dry.

Step 4
To complete the cone, add glue to the final corner and wrap it to align with the center point. Hold until dry. Once complete, this will be your basket to hold your May Day treats!
Step 5
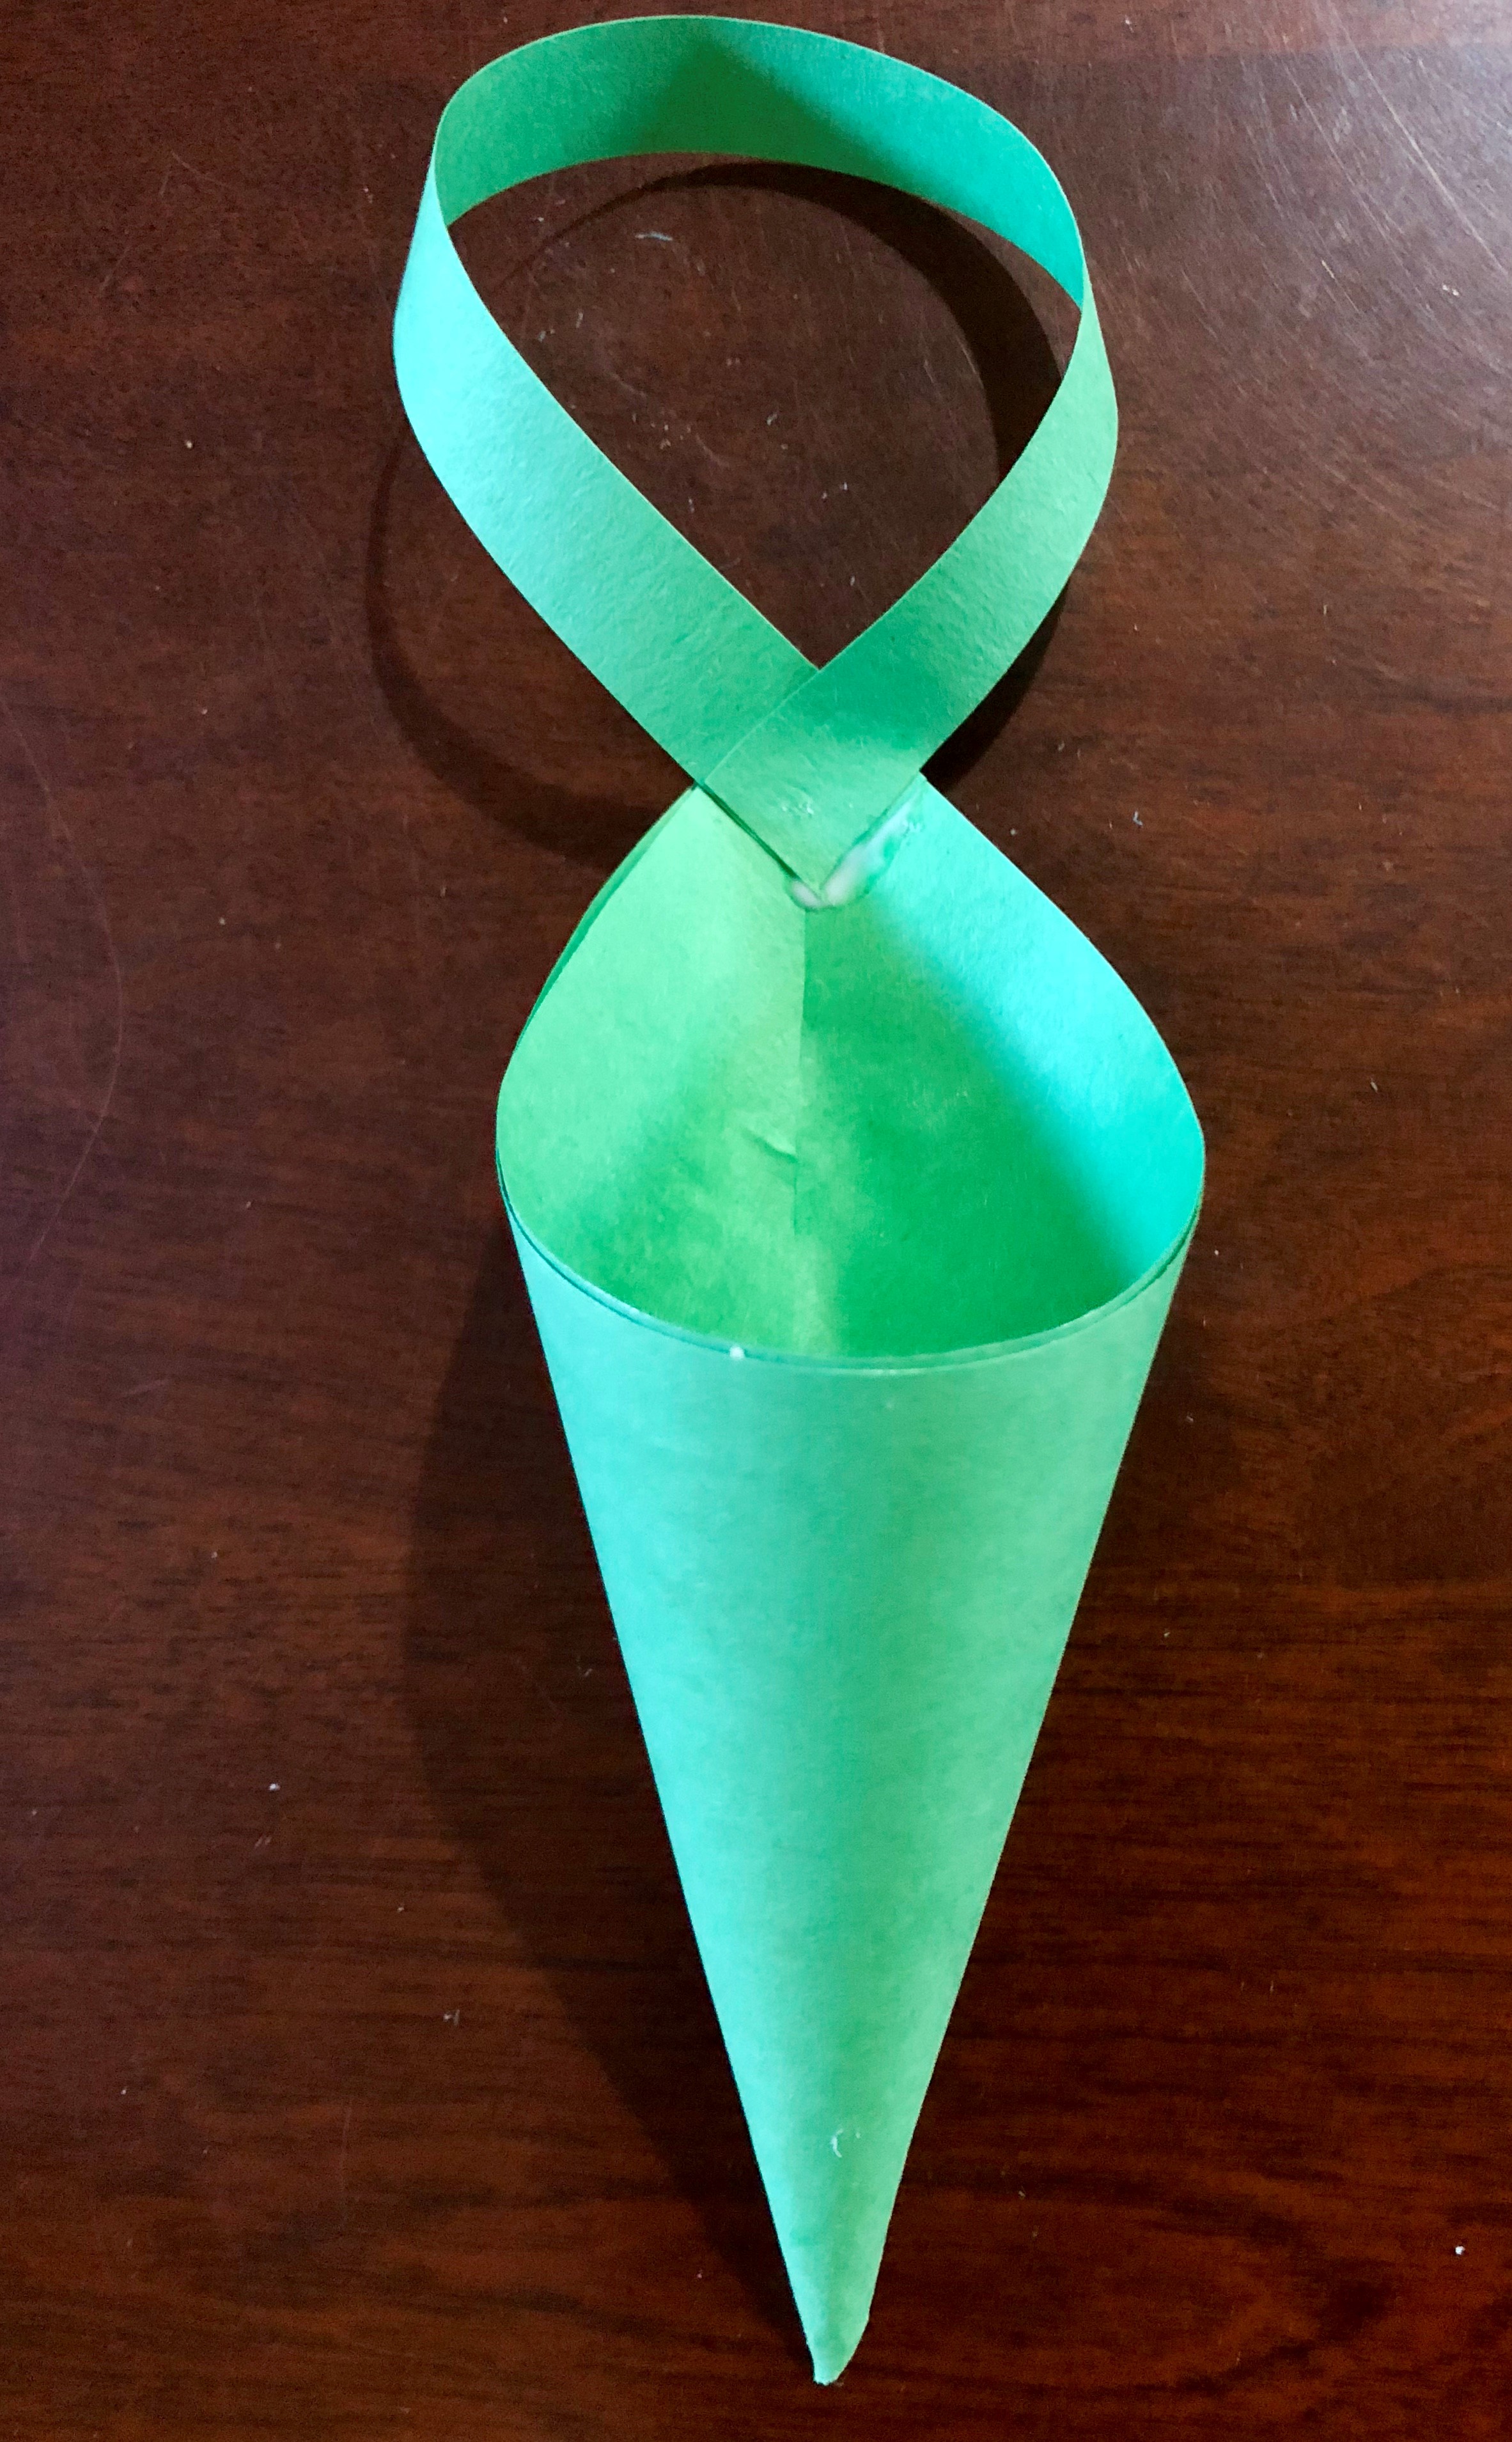
To create a hook for your basket, you will need to use your rectangle strip of paper. Cut a long strip (about 1/2") from the edge of the rectangle. What shape is your strip? (rectangle)
Using the thin rectangle, create a hook by gluing the ends to the top of your cone (see image). This will allow the basket to hang on a doorknob.
Step 6
Using the remaining colors of construction paper, cut out 2” x 2” squares. Talk about the differences between a square and a rectangle.
Did you know, a square is always a rectangle but a rectangle is not always a square? To be a square all sides must be equal in length.
Step 7
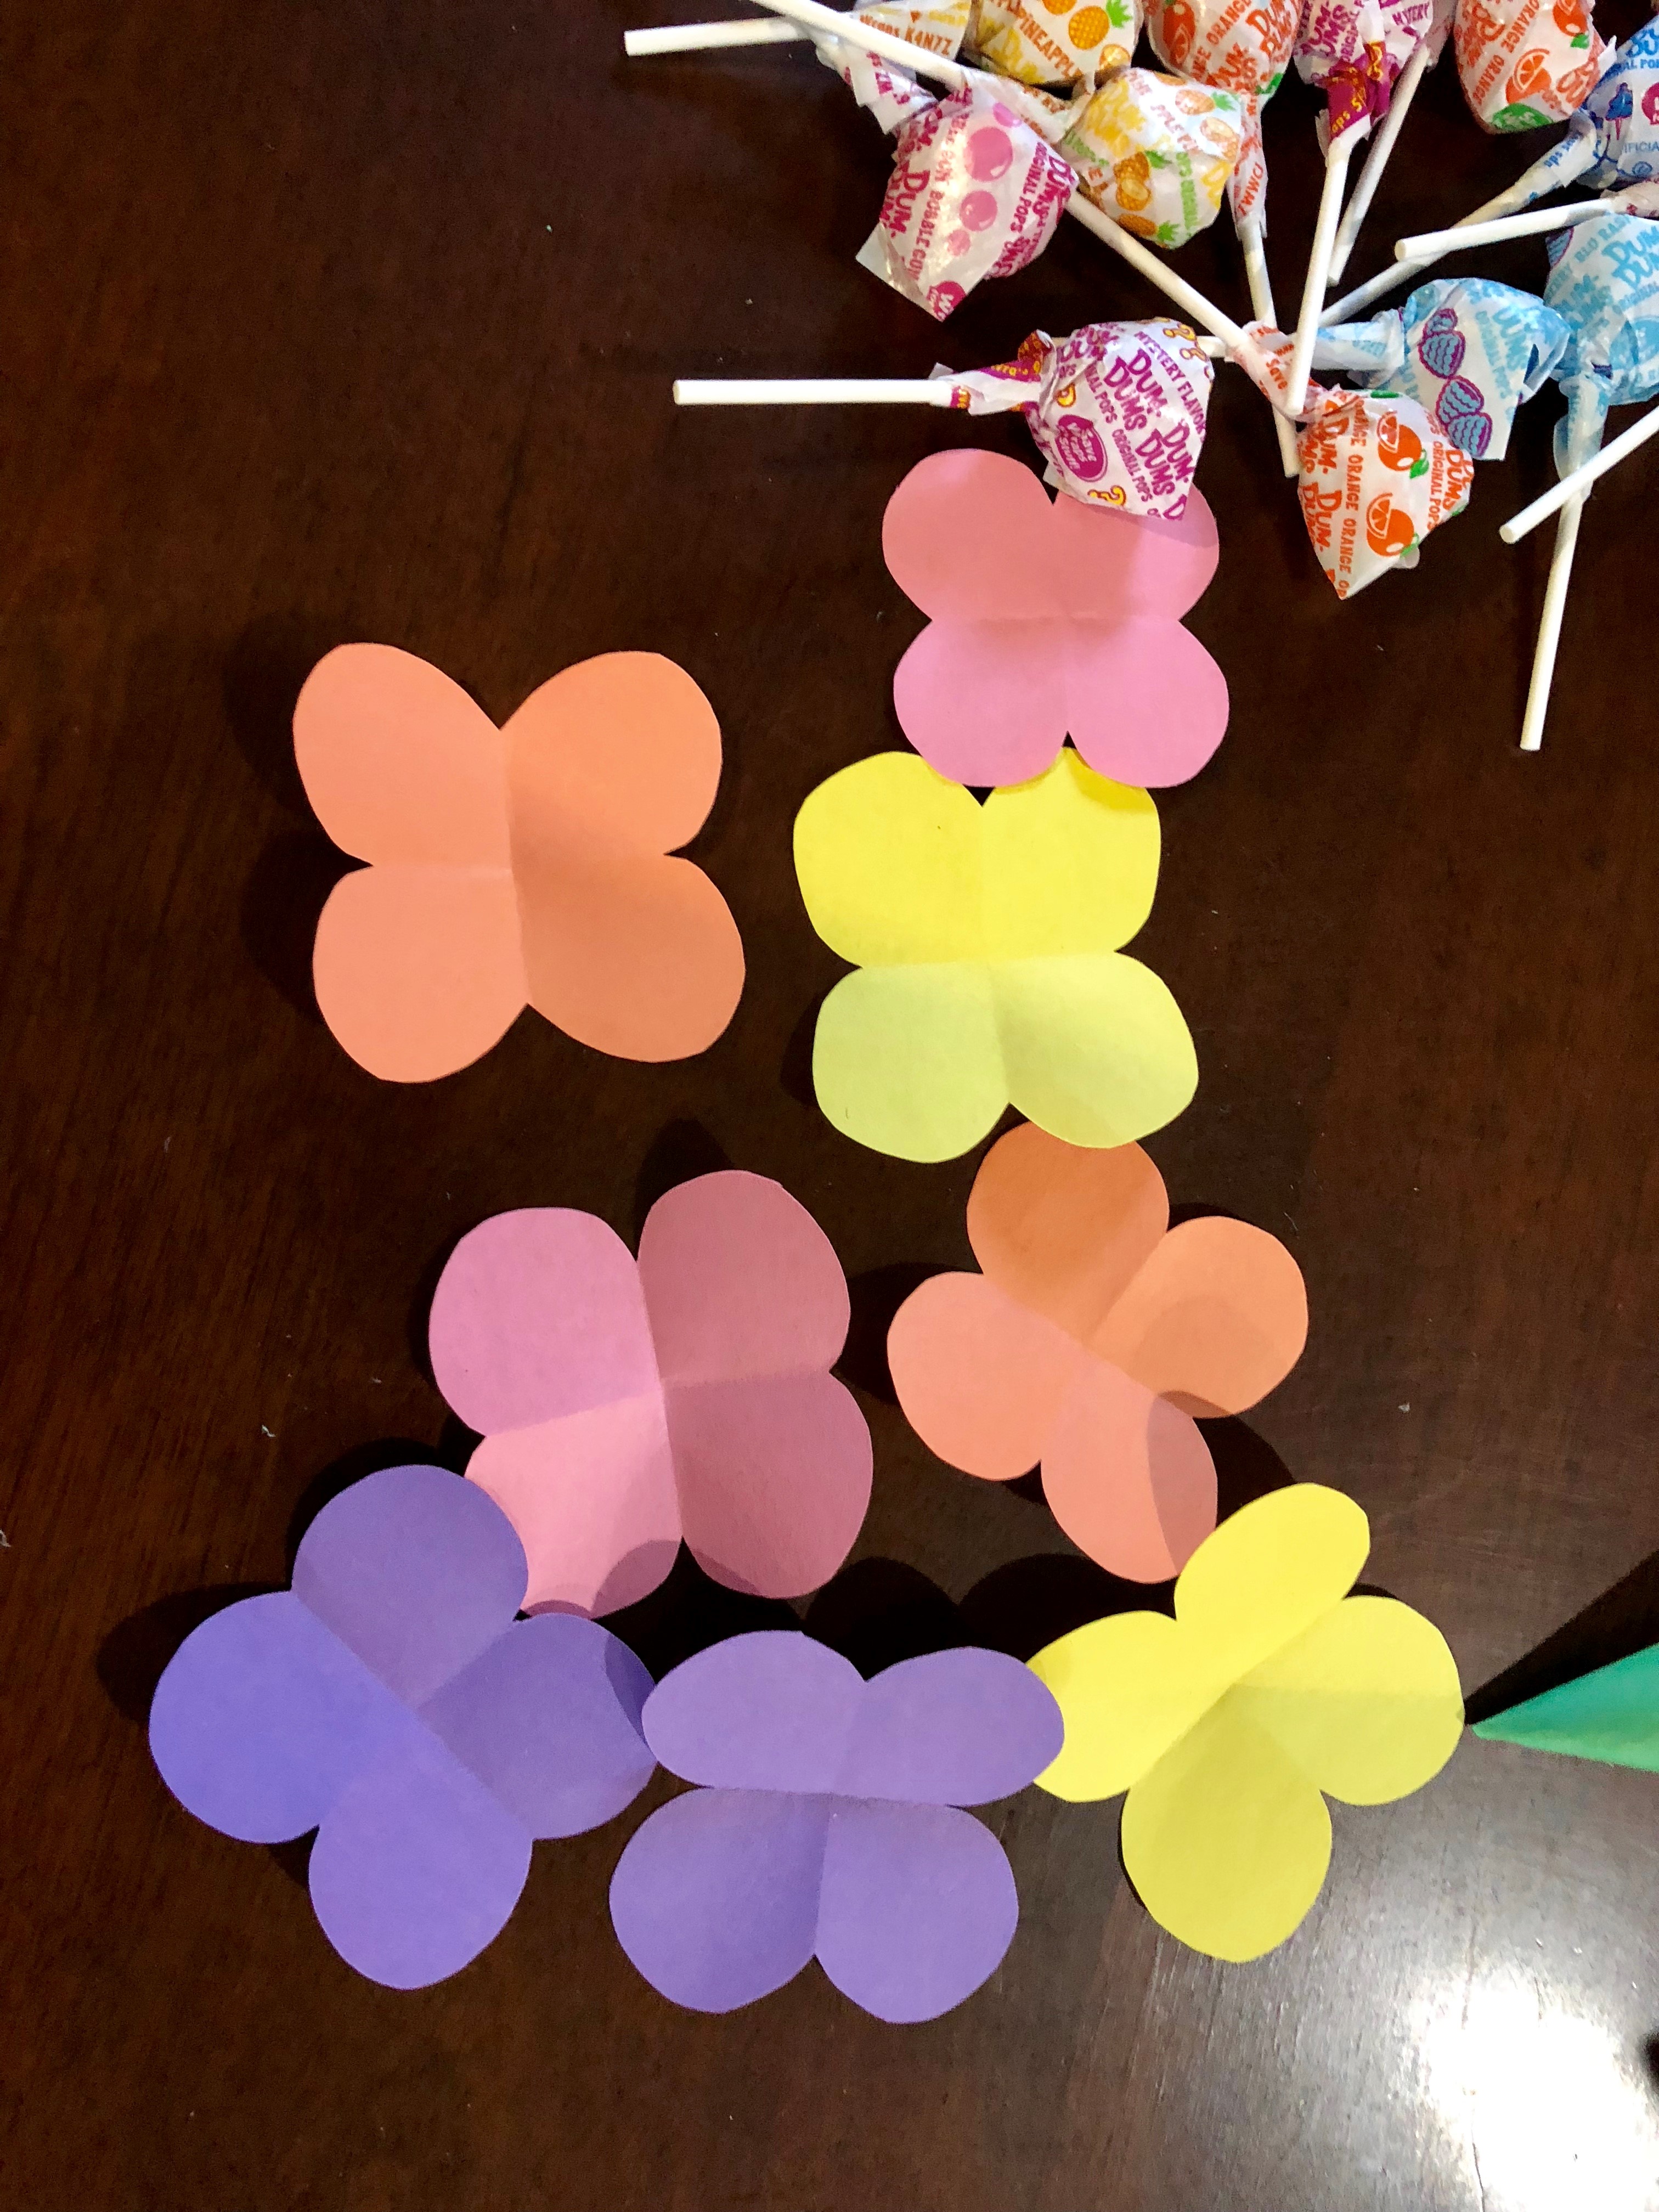
Use each of your squares to create the flower petals. Fold a square in half two times and round the edges so that it creates a circle (make sure you do not cut the center fold). Unfold and reveal your petals.
Once you complete each set of petals, stick a lollipop through the center of the petals to complete the flower. While doing this, take a few minutes to examine the shape of the sucker. Is it a 2D or 3D shape? (3D) What shape is it? (sphere)

Step 8
Now it is time to add your lollipops to your May Day Basket. Review all of the shapes used to create your May Day basket. Which 2D shapes did you explore? (circles, squares, rectangles, triangles) Which 3D shapes did you explore? (sphere, cone)
On May 1st, hang your May Day basket on a friend’s door, ring the doorbell, and see if you can get away without being noticed!
Enjoyed this May Day basket craft? Find more Family Friday STEM activities here.


